Vinyl floors are increasingly popular across offices, schools, and hospitals due to their shiny glassy look and durability. They provide warmth compared to regular tiles but may become dull or sustain damage from heavy traffic.
Step-by-Step Process
1. Clean the floor
Before applying stripper solution, thoroughly clean the surface by vacuuming debris, dirt, stuck candies, and nail polish marks.
2. Apply the stripper solution
After deep cleaning, prepare stripper solution per manufacturer instructions at the correct ratio. Spread across the floor with a mop and leave for 10-15 minutes. These solutions contain harsh chemicals requiring masks and proper ventilation.
3. Rinse
Use a wet vacuum to remove the stripped floor solution safely. Rinse with water 3-4 times and wet vacuum again to eliminate chemical residue completely. Wear appropriate PPE throughout.
4. Clean up with a new mop
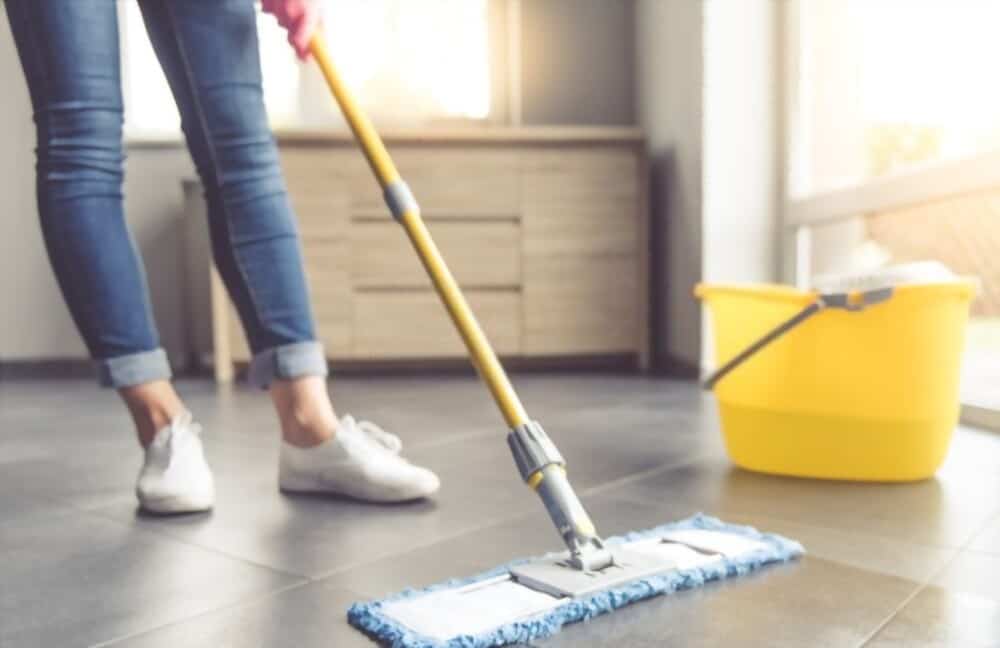
Take a fresh, clean mop to thoroughly dry the floor after water removal.
5. Apply sealer
Apply an even sealer layer and smooth it out with a mop to fill gaps and cracks for better polish application.
6. Polish the floor
Using a dry clean mop, apply thin, even polish layers in semi-circular motions in consistent directions. Once dry, apply a second coat. 3 to 4 thin coats of polish are recommended for optimal brightness and lasting shine.
Maintenance Tips
Regular cleaning, doormats, and preventing liquid spills extend vinyl floor lifespan and polish durability. Monitor floor condition to address problems before intensification.
Need Professional Cleaning Help?
CleaningPRO Auckland provides expert cleaning services for homes and businesses across Auckland.