Vinyl floors are increasingly popular across offices, schools, and hospitals due to their shiny glassy look and durability. They provide warmth compared to regular tiles but may become dull or sustain damage from heavy traffic.
Step-by-Step Process
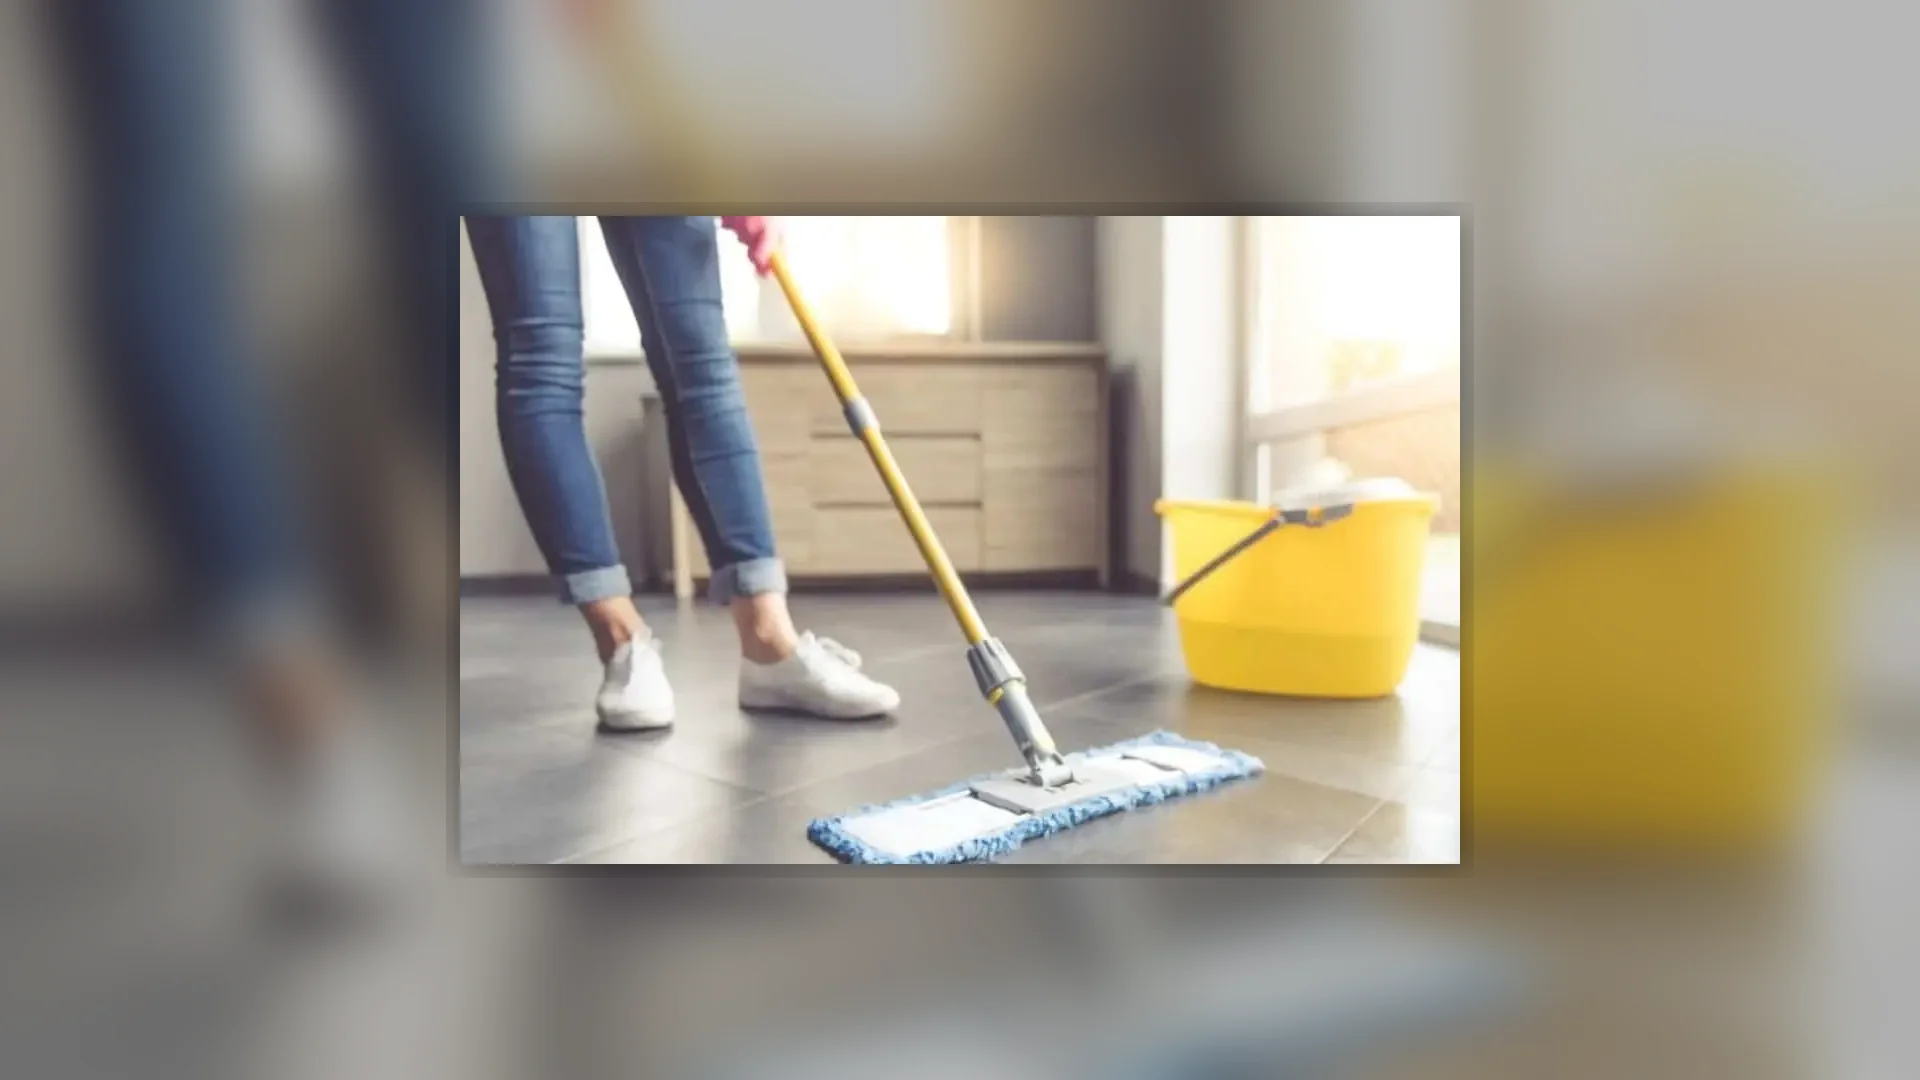
1. Clean the floor
Before applying stripper solution, thoroughly clean the surface by vacuuming debris, dirt, stuck candies, and nail polish marks.
2. Apply the stripper solution
After deep cleaning, prepare stripper solution per manufacturer instructions at the correct ratio. Spread across the floor with a mop and leave for 10-15 minutes. These solutions contain harsh chemicals requiring masks and proper ventilation.
3. Rinse
Use a wet vacuum to remove the stripped floor solution safely. Rinse with water 3-4 times and wet vacuum again to eliminate chemical residue completely. Wear appropriate PPE throughout.
4. Clean up with a new mop
Take a fresh, clean mop to thoroughly dry the floor after water removal.
5. Apply sealer
Apply an even sealer layer and smooth it out with a mop to fill gaps and cracks for better polish application.
6. Polish the floor
Using a dry clean mop, apply thin, even polish layers in semi-circular motions in consistent directions. Once dry, apply a second coat. 3 to 4 thin coats of polish are recommended for optimal brightness and lasting shine.
Maintenance Tips
Regular cleaning, doormats, and preventing liquid spills extend vinyl floor lifespan and polish durability. Monitor floor condition to address problems before intensification.
Need Professional Cleaning Help?
CleaningPRO Auckland provides expert cleaning services for homes and businesses across Auckland.
Professional guidance from CleaningPro Auckland
How to strip and polish vinyl floors (DIY Guide) is easiest to manage when you combine safe day-to-day maintenance with the right professional help at the right time. Auckland homes deal with humidity, coastal air, winter moisture and busy family traffic, so cleaning problems can return quickly if the source is not handled properly.
When to call a professional
Call a professional cleaner when staining, odour, moisture, mould risk, delicate fabrics, tenancy requirements or commercial presentation are involved. A trained technician can assess the material, choose the safest method and help avoid damage from over-wetting, harsh chemicals or incorrect DIY products.
Common mistakes to avoid
- Using too much water or detergent and leaving residue behind.
- Scrubbing delicate surfaces aggressively instead of testing first.
- Masking odours without treating the source.
- Waiting until a small cleaning issue becomes a bigger restoration problem.
Maintenance frequency
For most Auckland properties, routine cleaning should be supported by periodic deep cleaning. High-traffic homes, rentals, offices, pets, children and damp rooms usually need attention more often. If you are unsure, CleaningPro can recommend a practical schedule after understanding the property and condition.
Need help? Call 09 884 0343 or request a CleaningPro quote for clear Auckland-based advice.
Need professional help? Share your job details for a confirmed scope from our Auckland team.